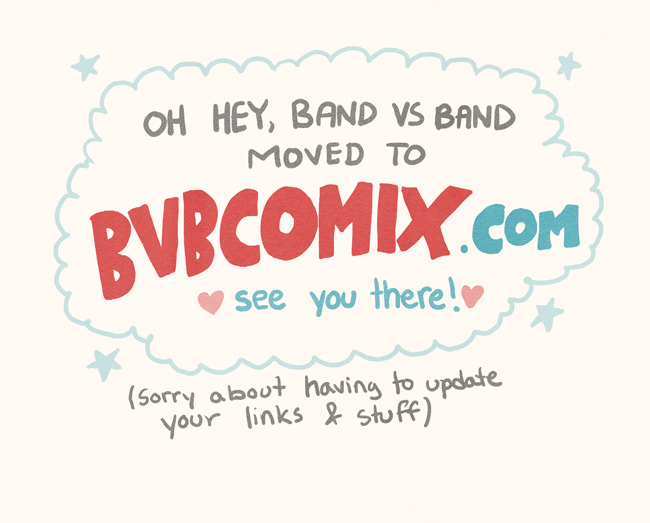
Backstage Tutorial Club: Get Yer Masks On Like It’s Mardi Gras

This topic came up in a conversation with some other comics artists, and I thought it’d be neat to share some of my process. I’m huge on layer masks in Photoshop, and masks are probably the #1 concept I’ve explained to students/co-workers/designfriends/etc over the years. It’s extremely common to know that masks are a thing that exists, but never get into them because it seems confusing or unintuitive. I think masks are actually pretty easy, and can be your best friend (and if you’ve already got a solid handle on them, hopefully it’ll be interesting to see how I do it.)

This is going to be specifically about my process for using masks to isolate different parts of a comic for coloring. I like to have at least two differentiated: figures and ground.

(Note: There are a few types of masking in Photoshop, and what I’m using here are single raster-based layer masks. We’re going to ignore the other ones for now: Quickmask, vector-based layer masks, and stacking more than one mask per layer.)

Ok! Here’s the panel I’m going to play with. It’s the top panel of this comic, and it’s got enough going on to demonstrate the concept: multiple figures in a scene where there’s continuous stuff behind them, like the graffiti on the wall.

And here’s the basic ink, before I start any color or masking:

So, my goal is to start blocking things out so that I can work on the background without it touching figures that are in front in the composition, and vice versa. Setting it up can be a little picky, but for me it’s an investment in things working really nicely later.

Layer Masks 101

Let’s look at the layer structure for this file.


(I made the thumbnails really big so you can see the masks. That’s in “Panel Options…” in the side menu of the Layers panel.) Masks are like a stencil you apply to your layer to block out some stuff (either entirely invisible, or any transparency percentage), and let other stuff show through. The beauty of this is that it’s non-destructive — you can have the effect of “erasing” some of your artwork without committing to murderously hacking away at the original, and forever retain the power to un-erase pieces back into existence. You can do just about anything in a mask — paint, fill, gradients, selections, whatever — except that it’s all shades from black/grey/white representing how opaque or clear the mask is. It’s really important to pay attention to whether you have the actual layer content or its mask selected in the Layers panel when you’re working — that’s what the extra little rectangle around the layer thumbnail means. In this shot, the content of “color fill” is selected.

You can see in the above screenshot that I’ve reused the same masks a couple of times in this file, and that “background fill” and “graffiti” have a mask that blocks out the figures, while “color fill” (the color on the people) has the exact inversion.

Let’s do this.

(BVB has this graphic style with an intentionally limited color palette and flat colors… but these techniques are applicable for anything, really. Also: there are tons of legit ways to do just about anything in Photoshop, so some of my methods are just my own quirks and preferences.)

First I made a new layer just filled solidly with some midtone color I know I’m going to use for part of the background elements. If the ink is 100% black, it almost doesn’t matter which is on top — just that the higher-up layer should be set to Multiply. I do actually do whole pages at once, but I thought it’d be simpler to just show one panel here.
Then I make a rough selection around my figures (either dragging all around them with Quick Selection, or picking through with the Magic Wand, depending on what makes the most sense with the lineart). It’s never perfect, and that’s ok. (It’s also frequently a judgement call how you want to treat something, like whether it’s with the figures or with the ground or whether you break the whole thing up into three or more levels.)
Then, expand that selection by 1 or 2px (I use 2px because I work huge, at 600ppi) to correct for edge overlap with the ink, and…mask! (You can mask through the menus, too, but I tend to always use the button at the bottom of the Layers panel.)

Boom. You can see that it’s not perfect — I missed some spots, and it needs some corrections. That’s easy, though — just choose the mask in the layers palette, and paint or fill the corrections in either black or white. I find it’s pretty quick & easy to do magic wand / fill corrections on a mask if you have the wand set to “Sample All Layers”, and ideally a shortcut for filling that adds that 1 or 2px expansion to the fill. So, here’s where it gets super useful….

I now have a layer where I can color effectively behind certain parts, as demonstrated by this horrible pink X! Notice that the background fill layer now has different shades of blue in it, and the graffiti layer on top has almost the same mask (except that I also blocked out the background around the wall that the graffiti shouldn’t leak onto.)

More Mask Tips: Selections & Shortcuts

  • You can command-click (or ctrl, on a PC) any layer thumbnail (layers, masks, smart objects, text layers) to get a selection of its contents. In the above screenshot, I selected the mask that’s on the leopard print of these tasteful leopard leggings.
  • Where this gets extra great is that you can then use that selection to make more masks on different layers. That’s how I reuse my masks (or parts of them).
  • Remember how I had the inverse mask on my color fill? That starts out as a duplicate mask as the background, and then you can hit command-i to invert it. Or, if you’d rather invert a selection before it’s a mask, it’s shift-command-i for that.
  • You can shift-click your mask thumbnail to hide/show the mask, and alt-click it to ONLY show the mask in its black-and-white state.
  • You can also mask group folders in the same way as layers, and this becomes practical when you want to just apply one mask to multiple layers that stack next to each other in the layer order.

Where Do You Come From & Where Are We Going

I don’t really post enough stuff on this blog — and since I don’t have a current portfolio up right now, there’s really nowhere to look at my non-comics stuff.

For now, here are a couple of things I always liked that I don’t think are posted anywhere else. These were both for group poster shows organized by my friend Gabe Wong (a phenomenal illustrator). The green one’s from Where Do You Come From (2009) and the blue ones are from Where Are We Going (2011).